At the moment, it's too wintry to use the solar wax melter, but I've got a project I want to do now, so I'm using a lined crock pot to melt and clean the wax. The pot has a couple of inches of hot water in it, so trapped honey can dissolve out. Bits of brood comb are too light to sink, so don't expect them to precipitate out. At best, they'll be at the bottom of the block where they can be scraped off. I'm adding about a pound of wax, in chunks, to the pot. The goal is to melt an amount that, when cool, is manageable. I find it difficult to break small pieces off of anything thicker than a half-inch, and most recipes call for pretty small amounts. If you're serious about crafting, it helps to have a digital scale that measures in grams.
 |
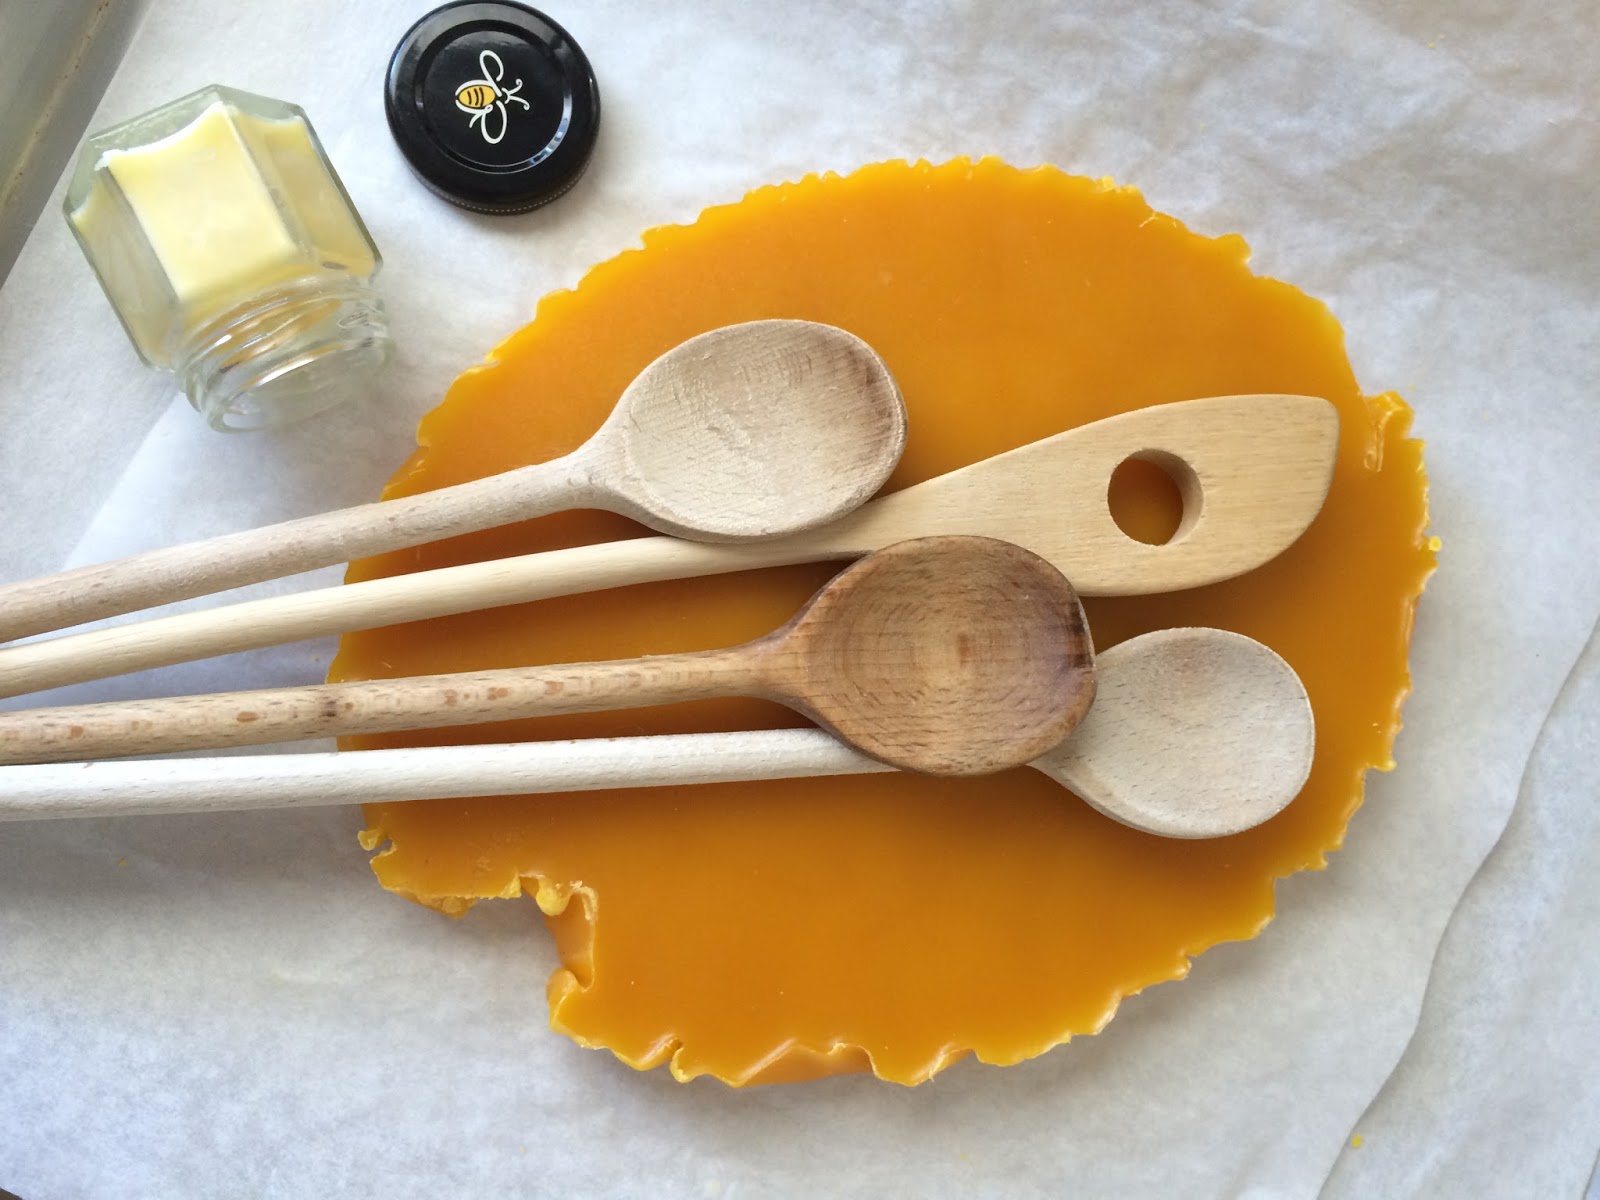
| Reynolds liners are awesome, because you can still use your crockpot for cooking food afterwards. |
Spoon Butter
If you have butcher block in your kitchen, use a wood cutting board or wooden spoons, then you need spoon butter. Also known as wood cream, wood wax and board butter, it will lengthen the life or all your pieces by hydrating the wood fibers and providing a protective coating. It takes just two ingredients to make spoon butter: beeswax and a carrier oil. And you can make it in under a half-hour. |
| The wooden spoon is from World Market. |
I am a ServSafe® certified chef and have a kitchen philosophy that goes something like this. It's okay for me to kill me, but it's not okay for me to kill you. Safety first. A lot of DIYers use food-grade mineral oil (and then sell 2-ounce jars of spoon butter for $6). There's some hub-bub about FGMO but I really don't have the inclination to find out what the controversy is. I'm just showing you the technique, really. When you make yours, please educate yourself on the ingredients and use what you are comfortable with. If you're going to make spoon butter to sell, just remember: When it comes to your customers, it's okay for you to kill you, but it's not okay for you to kill someone else. Always safety first.
If I had it, I would use fractionated coconut oil. It is a liquid form of coconut oil that is extremely stable (doesn't go rancid). My bottle of sweet almond oil was down to the dregs, the perfect amount for this demonstration. Normally odorless, it was at the end of it's useful life and needed to be used, which is alright because I'm not selling it and it's okay for me to kill me. For a butterlike consistency, a good ratio is 1:3.5 by weight, beeswax to carrier oil. Use less oil, just 1:2, and you can put it in a twist-up container. Handy! You can also use 76° coconut oil, trés trendy, in which case a good ratio is 1 part beeswax to 3 parts oil (use a scale). When I do get my hands on fractionated coconut oil, I'll show you how to a lotion-like wood cream.
 |
| I love how the beeswax gives the water white almond oil a golden glow. |
For small-batch production, heat the ingredients directly in the jar, set in a pan of simmering water. Stir to distribute the beeswax evenly. When completely melted, remove from the water bath. Do not remove earlier thinking you can heat the oil less and let carryover heat finish melting the wax. Yes, heat speeds up rancidity but, especially with a small jar like this, there may not be enough thermal mass to do the job. Beeswax melts at about 145°F and it needs to be melted completely to ensure it is evenly dispersed.

When fully liquid, it's definitely too hot to add any essential oils, which are optional. Rather than by aroma, choose an oil that provides antibacterial, antiseptic or antimicrobial properties. Orange oil is popular, as it's an antibacterial, antifungal and smells great, but it is delicate and volatilizes at 153°F/67°C. If you don't have an instant read thermometer, a visual gauge for when it's safe to add your EOs is when you see the bottom start to set. (If you're making a larger batch in a heatproof pitcher to pour into several individual containers, wait until the edge of the mixture starts to set before stirring in the EO then pour immediately.) Work quickly to ensure the EO is evenly distributed before the butter sets.

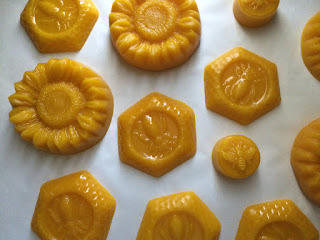 |
| Available in my Etsy shop. www.etsy.com/listing/265525114/pure-beeswax-sunflowers-and-queen-bee |

2 comments:
I'd never heard of spoon butter before, but I definitely have some spoons and cutting boards that could use some! Thanks for sharing this recipe!
Love the little bee logo on your bottle caps, too. Do you do your own graphic design? Or do you have some one else do it. I've been thinking a lot about logos and labels, etc. Wondering if you have any thoughts on what works best. Maybe that could be a post someday??? ;-)
BTW, I took a look at your Etsy store -- Wow! You are quite the crafter! Gorgeous products and luxurious presentations. Just beautiful!
The little bee logo is Rowse's @Julie D. My chiropractor picked up the little jar for me when she was in the UK.
Ever the DIYer, I do create and make my own labels, and being that my day job is in marketing, I could write a post. But I will have to think on it. It took me the better part of a day to write the Spoon Butter post! Thanks for the props, and the encouragement. — Holly
Post a Comment
Join the Conversation. Leave a comment.